The contents of the kit:
- lens mount (M9x0.5 threads)
- AR coated plastic lens (blue coating for red lasers)
- focusing head
- spring (for lens)
- heatsink with diode pocket (direct press, no Aixiz module needed)
- body tube
- clicky switch
- retainer for the switch
- tailcap
- lanyard
- driver with separate contact spring
- several page long instruction sheet (very detailed, lots of pictures)
Build:
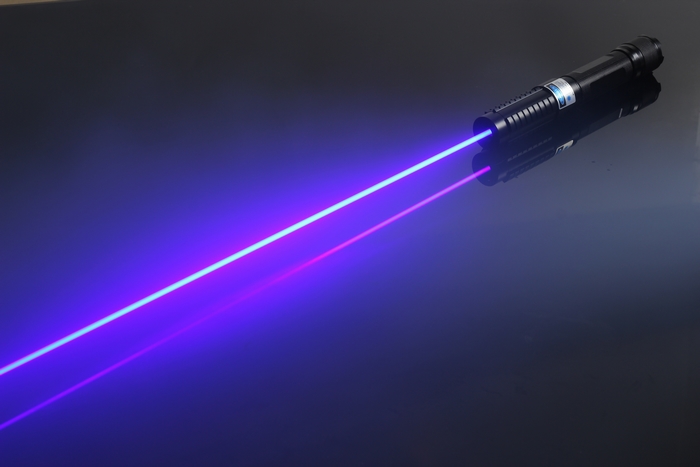
The build is fairly easy and IMHO perfectly suited for beginners. All you need for a high powered red laser is this kit, a LPC-815 sled or a single red diode and two CR2 batteries. Some tools are of course needed too ;-)
I used a LPC-815 sled which I got from a member of this forum. The extraction of the diodes was easy, thanks to the excellent guides and pictures in this forum.
I put a slight chamfer on the diode pocket to make the mounting process easier. Before the diode would get caught on the edge. I found that with the chamfer setting the diode is no problem. Use a piece of tube which is slightly smaller than the diode pocket to set the diode all the way. It should sit slightly lower than the bottom of the heatsink for best heat transfer.
Once the diode is pressed it, you solder the driver board to the diode and the supplied contact spring to the board. Read more about the driver and why you don't have to have a test load below. Continue to screw the heatsink in the body. Put the lens in the lens mount and screw it to the focusing head. Put the tailswitch in the tailcap, secure it with the retainer ring. Put the batteries in, plus sides first, screw everything together and you are done! Put on your safety glasses and push the switch.
http://laserpointerforums.com/f52/another-odicforce-focusing-laser-host-review-kit-w-driver-63999.html
Subscribe to:
Post Comments (Atom)
No comments:
Post a Comment